Comparing Quest GPOADmin 2025
Introduction to Modern Group Policy management
In the erver-evolving IT landscape, Group Policy Object (GPOs) remains one of the most powerful tools for enforcing configuration, managing security, and maintaining compliance across enterprise networks
However, as organizations grow and environments become hybrid (on-premises + cloud), manual GPO management becomes inefficient and risky.
That’s were specialized GPO management tools come into play. They provide administrators with centralized visibility, change control, auditing, and reporting, essential for maintaining secure and compliant Active Directory environments.
What makes an Effective GPO Management Tool?
When evaluating GPO Management Solutions, IT administrators typically prioritize:
- Change Control & Versioning: Track and revert changes safely.
- Auditing and Compliance: Maintain detailed logs for accountability
- Automation: Streamline repetitive configuration task.
- Reporting and visualization: Simplify compliance and troubleshooting.
- Integration: Ensure compatibility with Active Directory and EntraID (formely AzureAD)
Let’s explore the leading GPO Management tool dominating the enterprise landscape in 2025.
Deep Dive: The Leading GPO management Tools of 2025
Quest GPOAdmin
Key highlights
- Version Control and Rollback: every change is tracked with a complete history.
- Approval Workflow: Enables multi-tier change approval.
- Sandbox testing: Test GPOs before deploying to production.
- Audit & Compliance: Intergrates seamlessly with Quest Change Auditor for deep visibility.
- Role-based Access Control (RBAC): Assign permissions based on user roles.
- Automation and Reporting: Generate scheduled compliance reports and automate GPO checks.
Microsoft Advanced Group Policy Management
Microsoft AGPM, part of Microsoft Desktop Optimization Pack (MDOP), was once the defacto GPO management solutions for Windows environments. It introduced offline editing, versioning, and change tracking, offering significant upgrade over GPMC.
However , AGPM is now approaching its end of life.
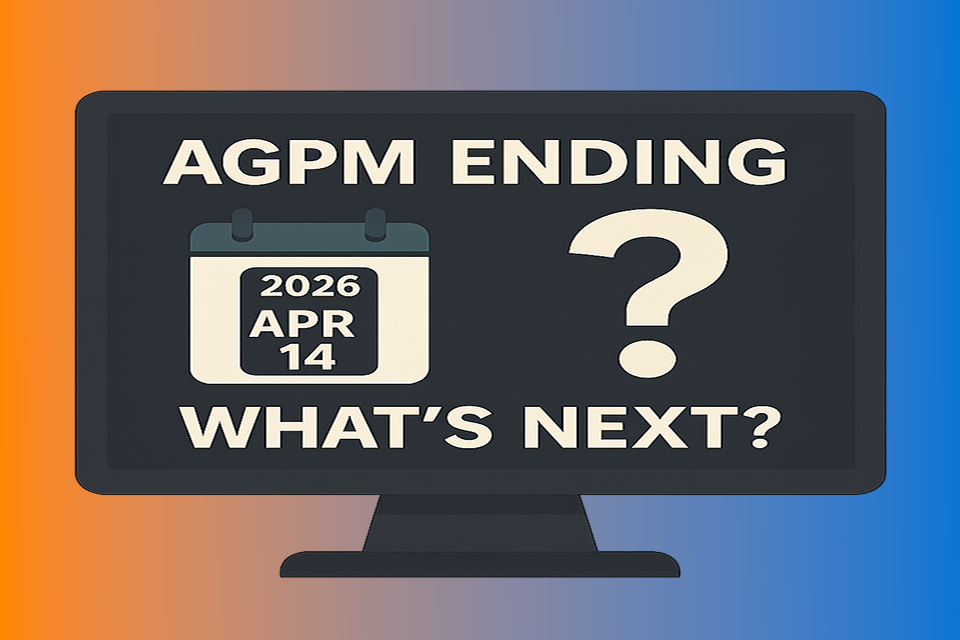
Microsoft officially announced that MDOP (and therefore AGPM) will reach end of support on April 14, 2026. After this date, organizations will no longer receive updates, security patches, or technical support.
AGPM Strenghts:
- Native integration with Windows Server and AD.
- Basic version Control and offline editing capabilities.
- Familiar MIcrosoft interface for administrators.
AGPM Limitations:
- No active development since 2018
- Lack automation and modern reporting features.
- Limited scalability for multi-domain enterprises.
Best for: Legacy environments still running MDOP or organizations in transition to modern GPO tools.
ManageEngine ADManager Plus
ManageEngine ADManager Plus is a broader Active Directory Management Suite that includes GPO reporting and management capabilities. While not exclusively a GPO management tool, it offers strong automation and reporting features for AD environments
Key Higlights
- Centralized AD and GPO management dashboard.
- Automated GPO reports (linked GPOs, disabled GPOs, last modified date, etc.)
- Delegation and workflow automation for user and group management.
- Integration with IT helpdesks systems like ServiceDesk Plus.
Limitations:
- Limited version control and rollback functionalities for GPOs.
- Focuses more on AD managemnet than deep GPO lifecycle control.
Best for: Organizations seeking a unified AD + GPO management platform with moderate automation.
Netwrix Group Policy Change reporter
Netwrix focuses on auditing and monitoring GPO changes, making it a strong fit for compliance-driven organizations. It doesn’t modify GPOs directly but offers detailed visibility info who changed what, when, and where.
Key Highlights
- Automatic change detection and real-time alerts.
- Reports for authorized modification or security changes.
- Integration with SIEM platforms for compliance tracking.
- Lightweight deployment, easy setup.
Limitations
- No rollback or version control features.
- Reporting only functionality, no direct GPO editing.
Best for: Organizations that already have GPO processes in place, but need stronger auditing and alerting capabilities.
SecOps GPO Tool
SpecOps GPO tool is designed for simplicity and documentation. It helps IT administrators track, document, and visualize Group Policies more effectively.
Key Highlights
- Visual representation of GPO structures.
- Simplified documentation and comparison reports.
- Easy to install and integrate into existing AD environments.
Limitations:
- No version control, rollback or advanced automation.
- Primarily focussed on visibility and documentaion, not lifecylce management.
Best for: Small to medium-size organizations prioritizing GPO visibility and reporting.
Head-to-Head Comparison
| Feature | Quest GPO Admin | Microsoft AGPM | ManageEngine ADManager Plus | Netwrix GPO Reporter | Specops GPO Tool |
| Version Control | ✅ Advanced | ✅ Basic | ⚠️ Limited | ❌ No | ❌ No |
| Rollback Capability | ✅ Instant | ⚠️ Manual | ❌ No | ❌ No | ❌ No |
| Approval Workflow | ✅ Multi-level | ⚠️ Basic | ✅ Partial | ❌ No | ❌ No |
| Automation | ✅ Extensive | ❌ None | ✅ Moderate | ❌ No | ❌ No |
| Auditing & Reporting | ✅ Comprehensive | ⚠️ Basic | ✅ Good | ✅ Excellent | ⚠️ Basic |
| Integration | ✅ Quest Suite, AD, Azure | ⚠️ Microsoft Stack | ✅ ManageEngine Suite | ✅ SIEM | ⚠️ Limited |
| End of Support | Active | April 14, 2026 | Active | Active | Active |
| Best For | Enterprises | Legacy Environments | Mid-sized Orgs | Compliance Teams | Small IT Shops |
End-of-Support Impact: AGPM 2026
The April 14, 2026 end-of-support date for AGPM and MDOP signals a crusial turning point. After this deadline, AGPM wil no longer receive any patches or assistance, leaving organizations exposed to potential security and compliance risk.
Enterprises relying on AGPM should:
- Plan migration to Quest GPOADmin or similar tools.
- Re-evaluate workflows to align with modern change controls standards.
- Documetn current GPOs before transitioning to maintain version integrity
Expert Recommendations for 2025 and Beyond
For most organizations:
- Quest GPOADmin offers the most complete, secure, and enterprise-ready solutions.
- ManageEngine ADManagerPlus is a balanced option for Hybrid AD environments.
- Netwrix is ideal for compliance auditing and change visibility.
- SpecOps works best for simplified documentation use cases.
- AGPM should be phased out before April 14, 2026.
Conclusions
As organizations modernize their Active Directory infrastructure, choosing the right GPO management tool is no longer just about features, it’s about long-term stability, compliance, and expert implementation.
While Microsoft AGPM approaches its end of support on April 14, 2026, Quest GPOAdmin stands out as the most robust, secure, and enterprise-ready solutions for the future. It offers end-to-end GPO lifecycle management, advanced auditing, automation, and seamless integration with existing AD environments.
However, implementing a solution as powerful as Quest GPOADmin requires deep expertise in Active Directory architecture, security policies, and workflow integration, and thats where we come in.
Partner with In2ITSolutions for expert implementation
At In2ITSolutions, we specialize in helping organizations:
- Plan and migrate from legacy GPO tools (Like AGPM) to Quest GPOAdmin.
- Implement secure and compliant GPO workflows that reduce risk and improve visibility.
- Integrate Quest GPOADmin with Active Directory, and hybrid environments
- Provide training, ongoing support
Whether you’re a global enterprise or a mid-sized IT department, our certified experts can design and deploy a future proof GPO management strategy tailored for your environment.
Ready to Optimize your GPO management?
Contact us at In2IT.Solutions to schedule a free consultation and discover how our experts can simplify and secure your Group Policy operations.


